
Learn how you can distribute any type of project change to your Subcontractors so they can download the documents and respond with cost impacts or authorize T&M work through Clearstory.
Creating a New Change Notification
Filtering your Sent Log
Creating a New Change Notification
To create a new Change Notification and distribute to your Subcontractors follow these steps:
- Click on the Add New button at the top of your screen and choose "Create a Change Notification".
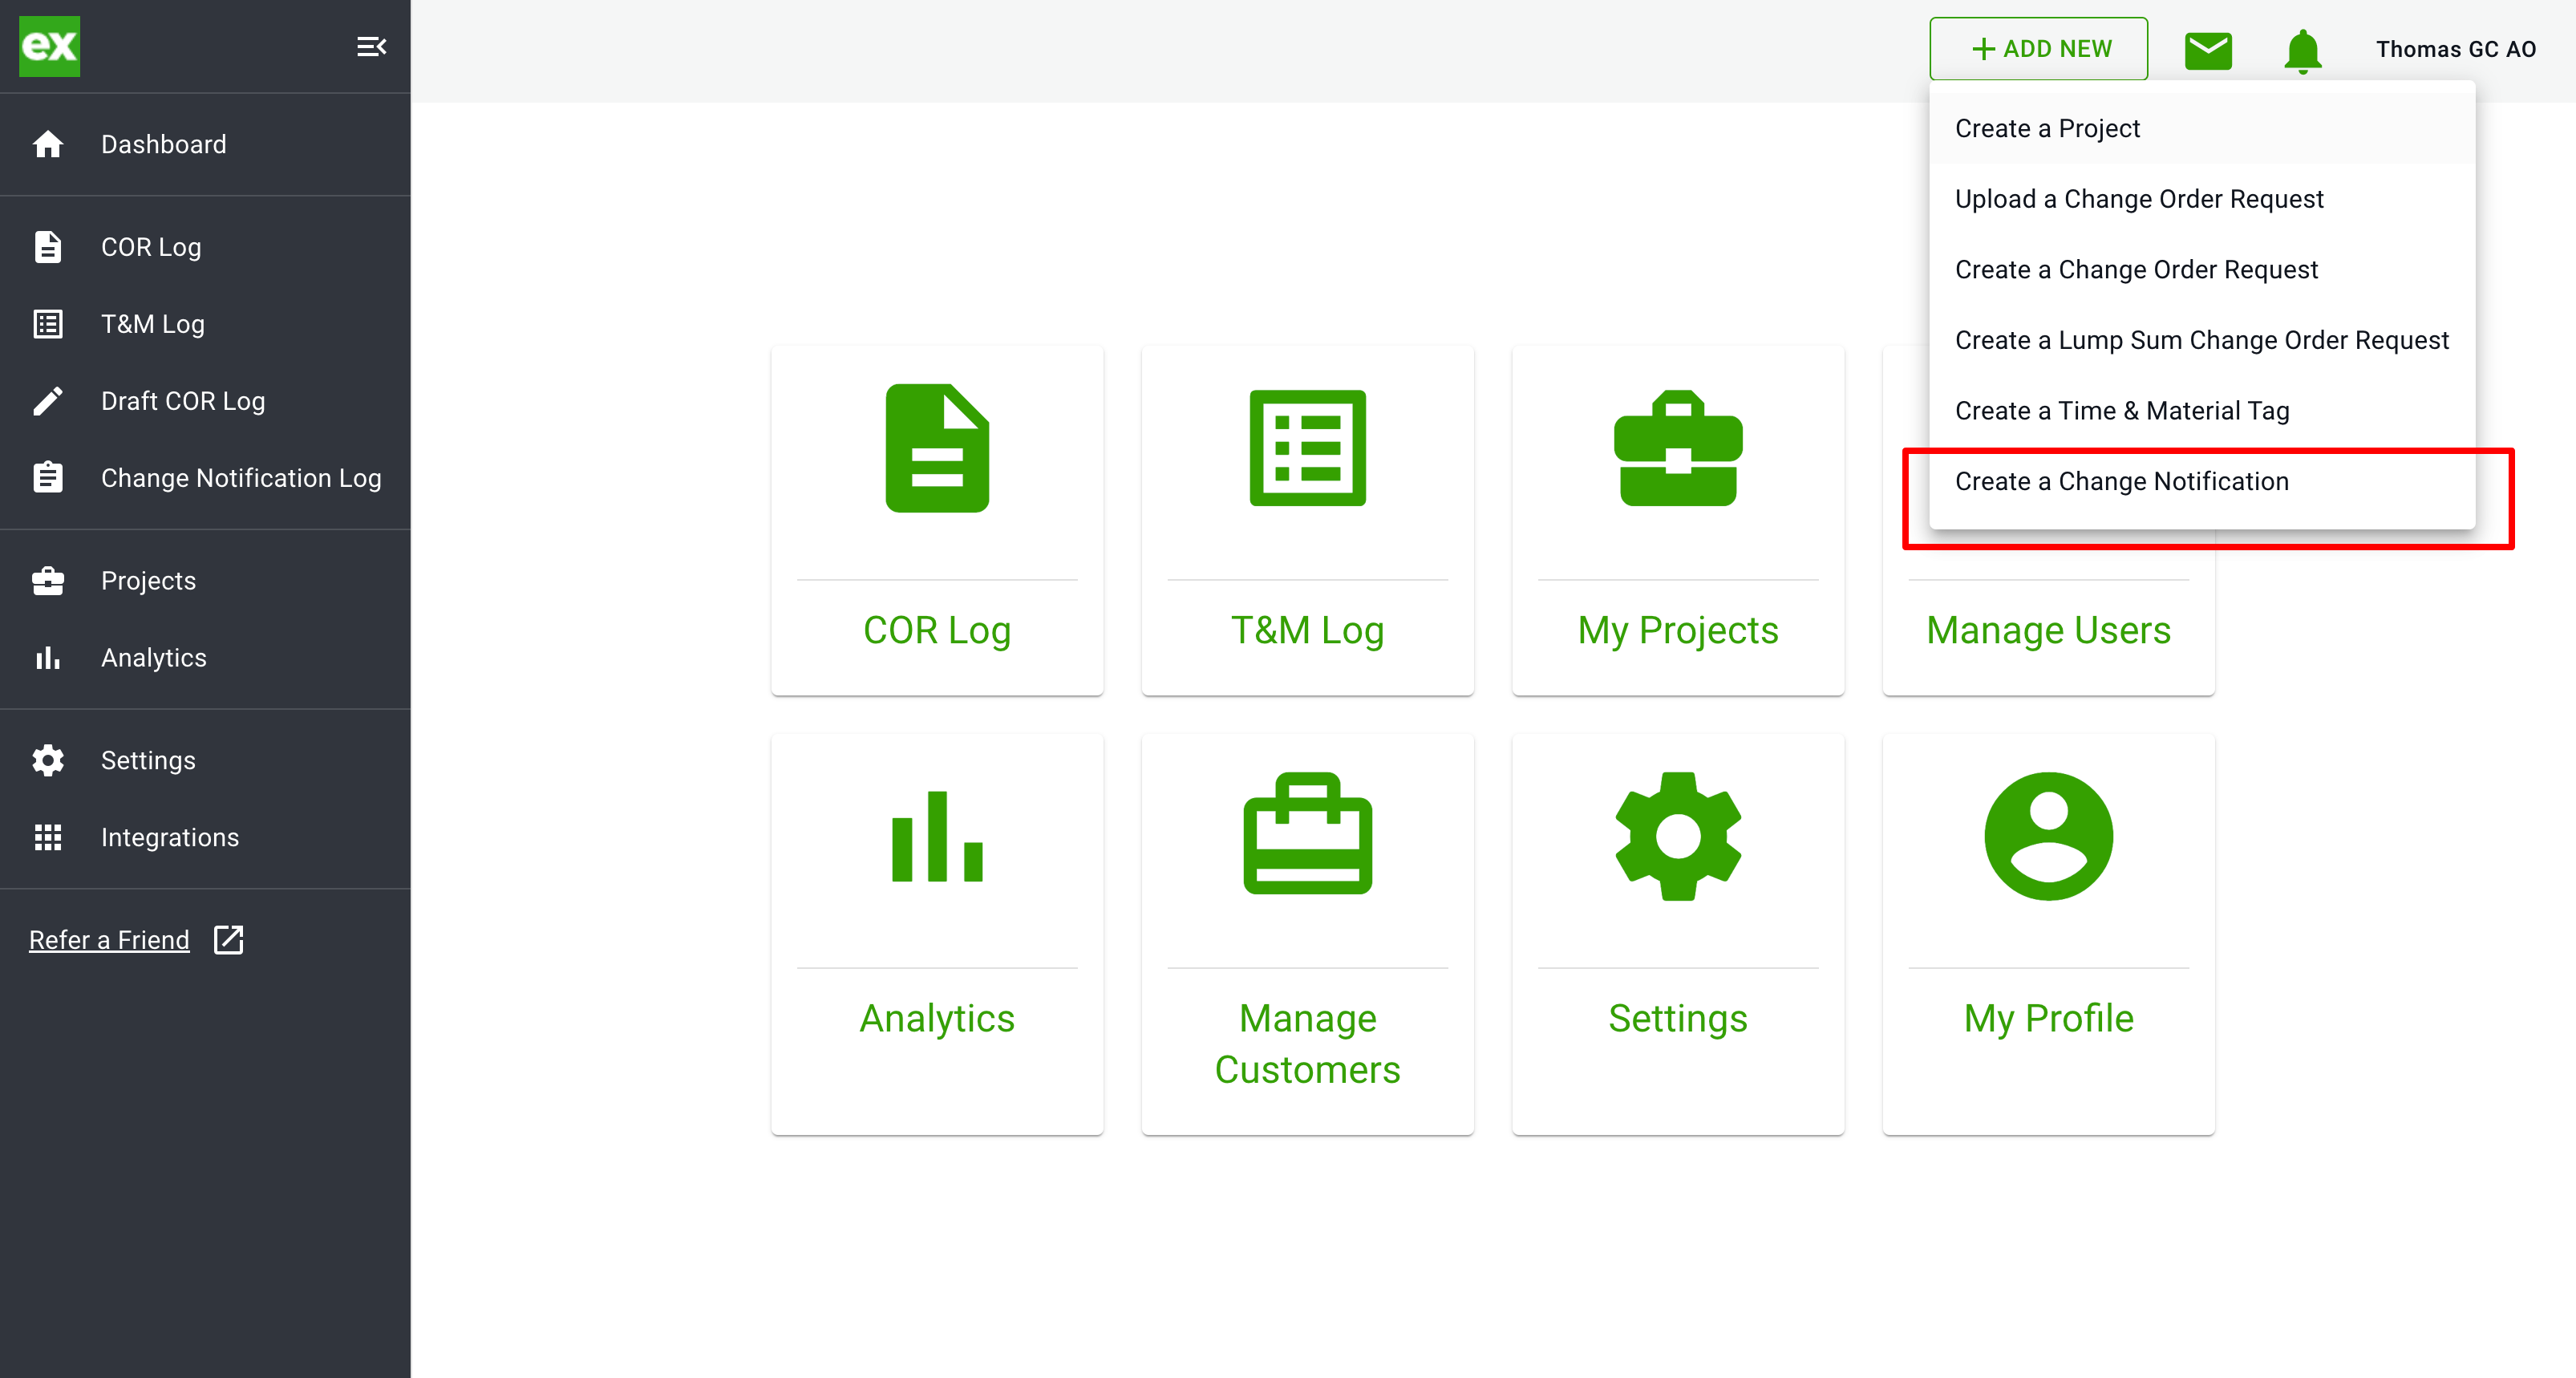
- This will bring you to the Change Notification Page.
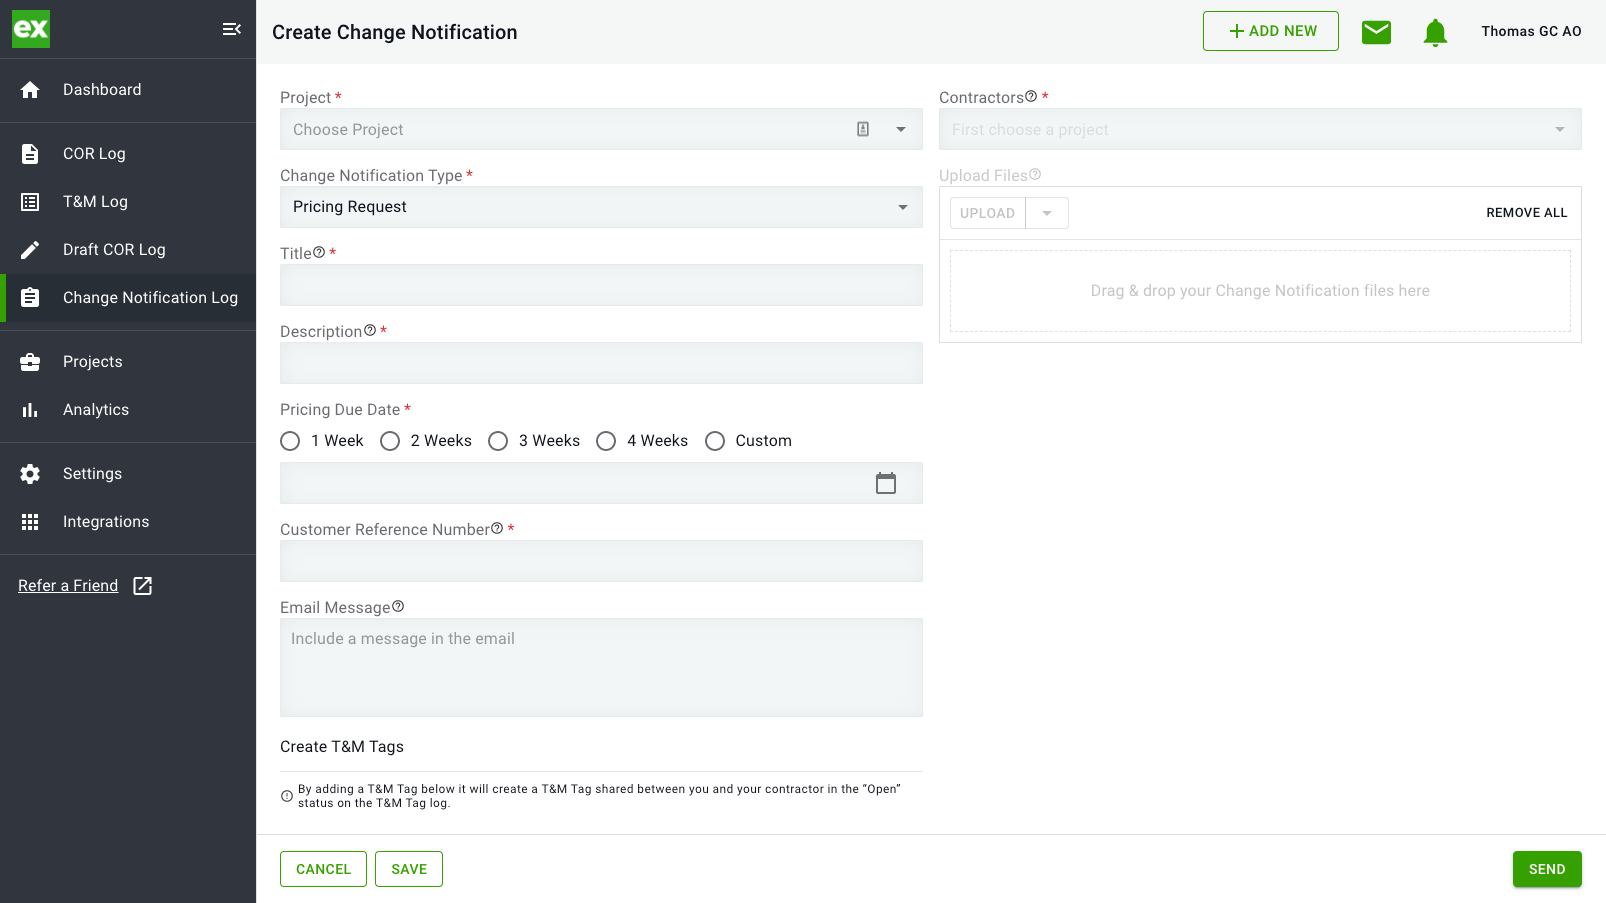
- Select the project the Change Notification is for.
- Select Change Notification Type. This allows you to request pricing or authorize T&M work.
- By selecting Authorize T&M Work. A section will appear at the bottom to create T&M tags for your contractor with an "Open" status.
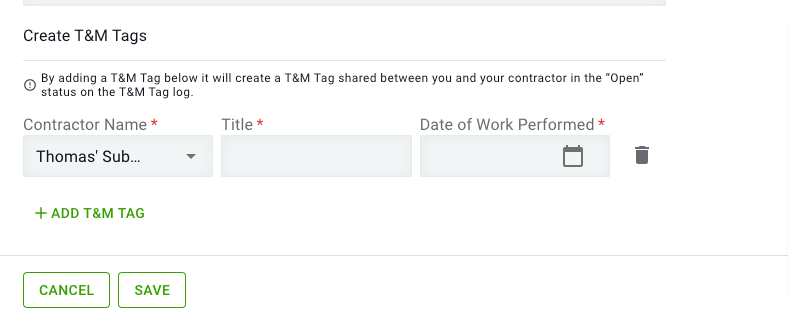
- By selecting Authorize T&M Work. A section will appear at the bottom to create T&M tags for your contractor with an "Open" status.
The T&M Tag will be created with an open status on the contractors T&M Log. An email will be sent to the users on the project that includes the Project, Tag Title, Due Date, and attached files.
- Enter a title and description of the change and will show up in the email that goes to the Subcontractors and be shown on the Log.
- Select Pricing Due Date. This is the deadline you are giving the Subcontractors to respond.
- Add a Customer Reference Number. This is the number you are giving your Subcontractors to track the costs. This is often referred to as a PCO, PCI, CE, etc. number.
- Include an email message to the Subcontractors that will show up in the body of the email that gets sent out.
- Select your subcontractors by clicking in the drop-down and selecting which companies will be impacted by this change. If it is a global change affecting all Subcontractors you can "Select All".
- Drag and drop the files you want to send to your Subcontractors. There is no file size limit on this feature giving you the ability to attach drawing packages here.
- Once the form is complete, either send it to your Subcontractors or Save it as a draft to be sent later.
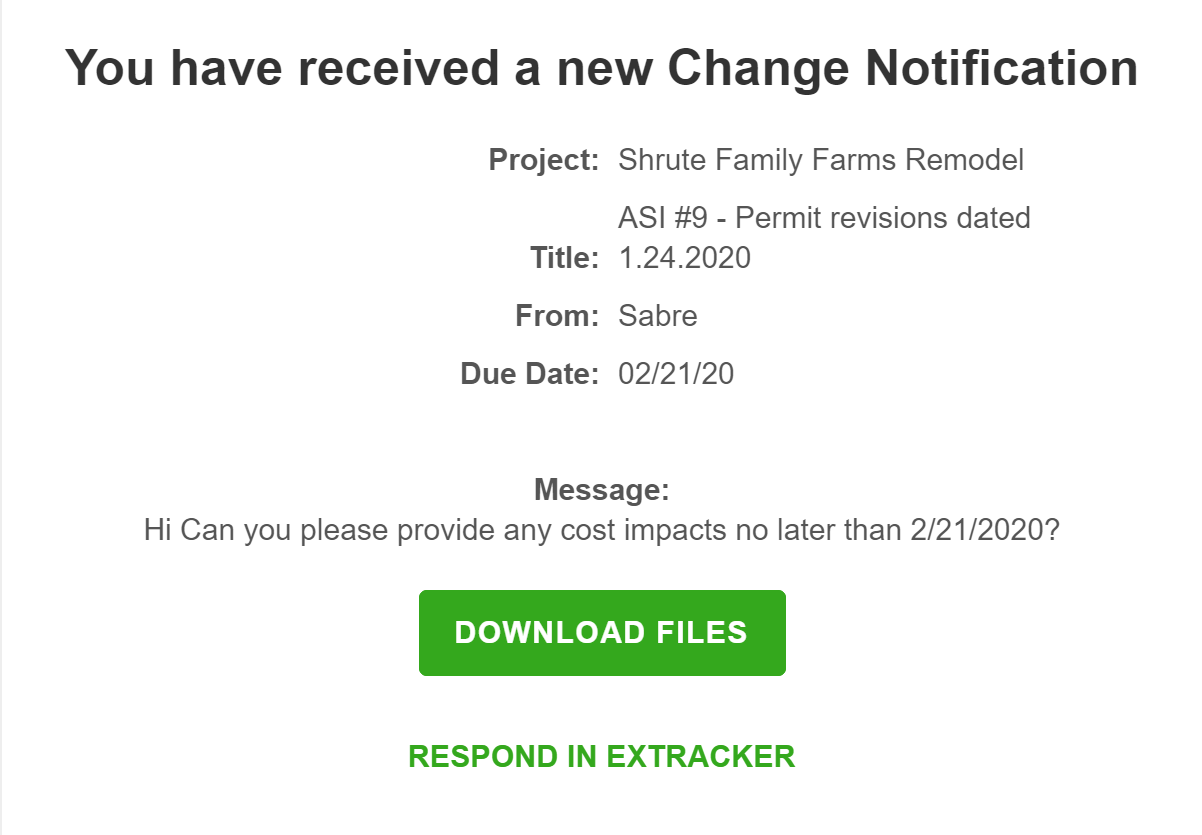
Once the Change Notification is sent your Subcontractors will receive the below email with a link to view the files you sent and a link to respond to the Change Notification in Clearstory.
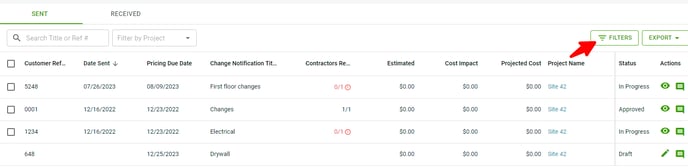
Once you have sent the Change Notification you can track the status back in the log.
- In the Contractors Responded column you can quickly see how many Subcontractors were sent the Change Notification and how many have actually responded with a COR or No Cost Impact.
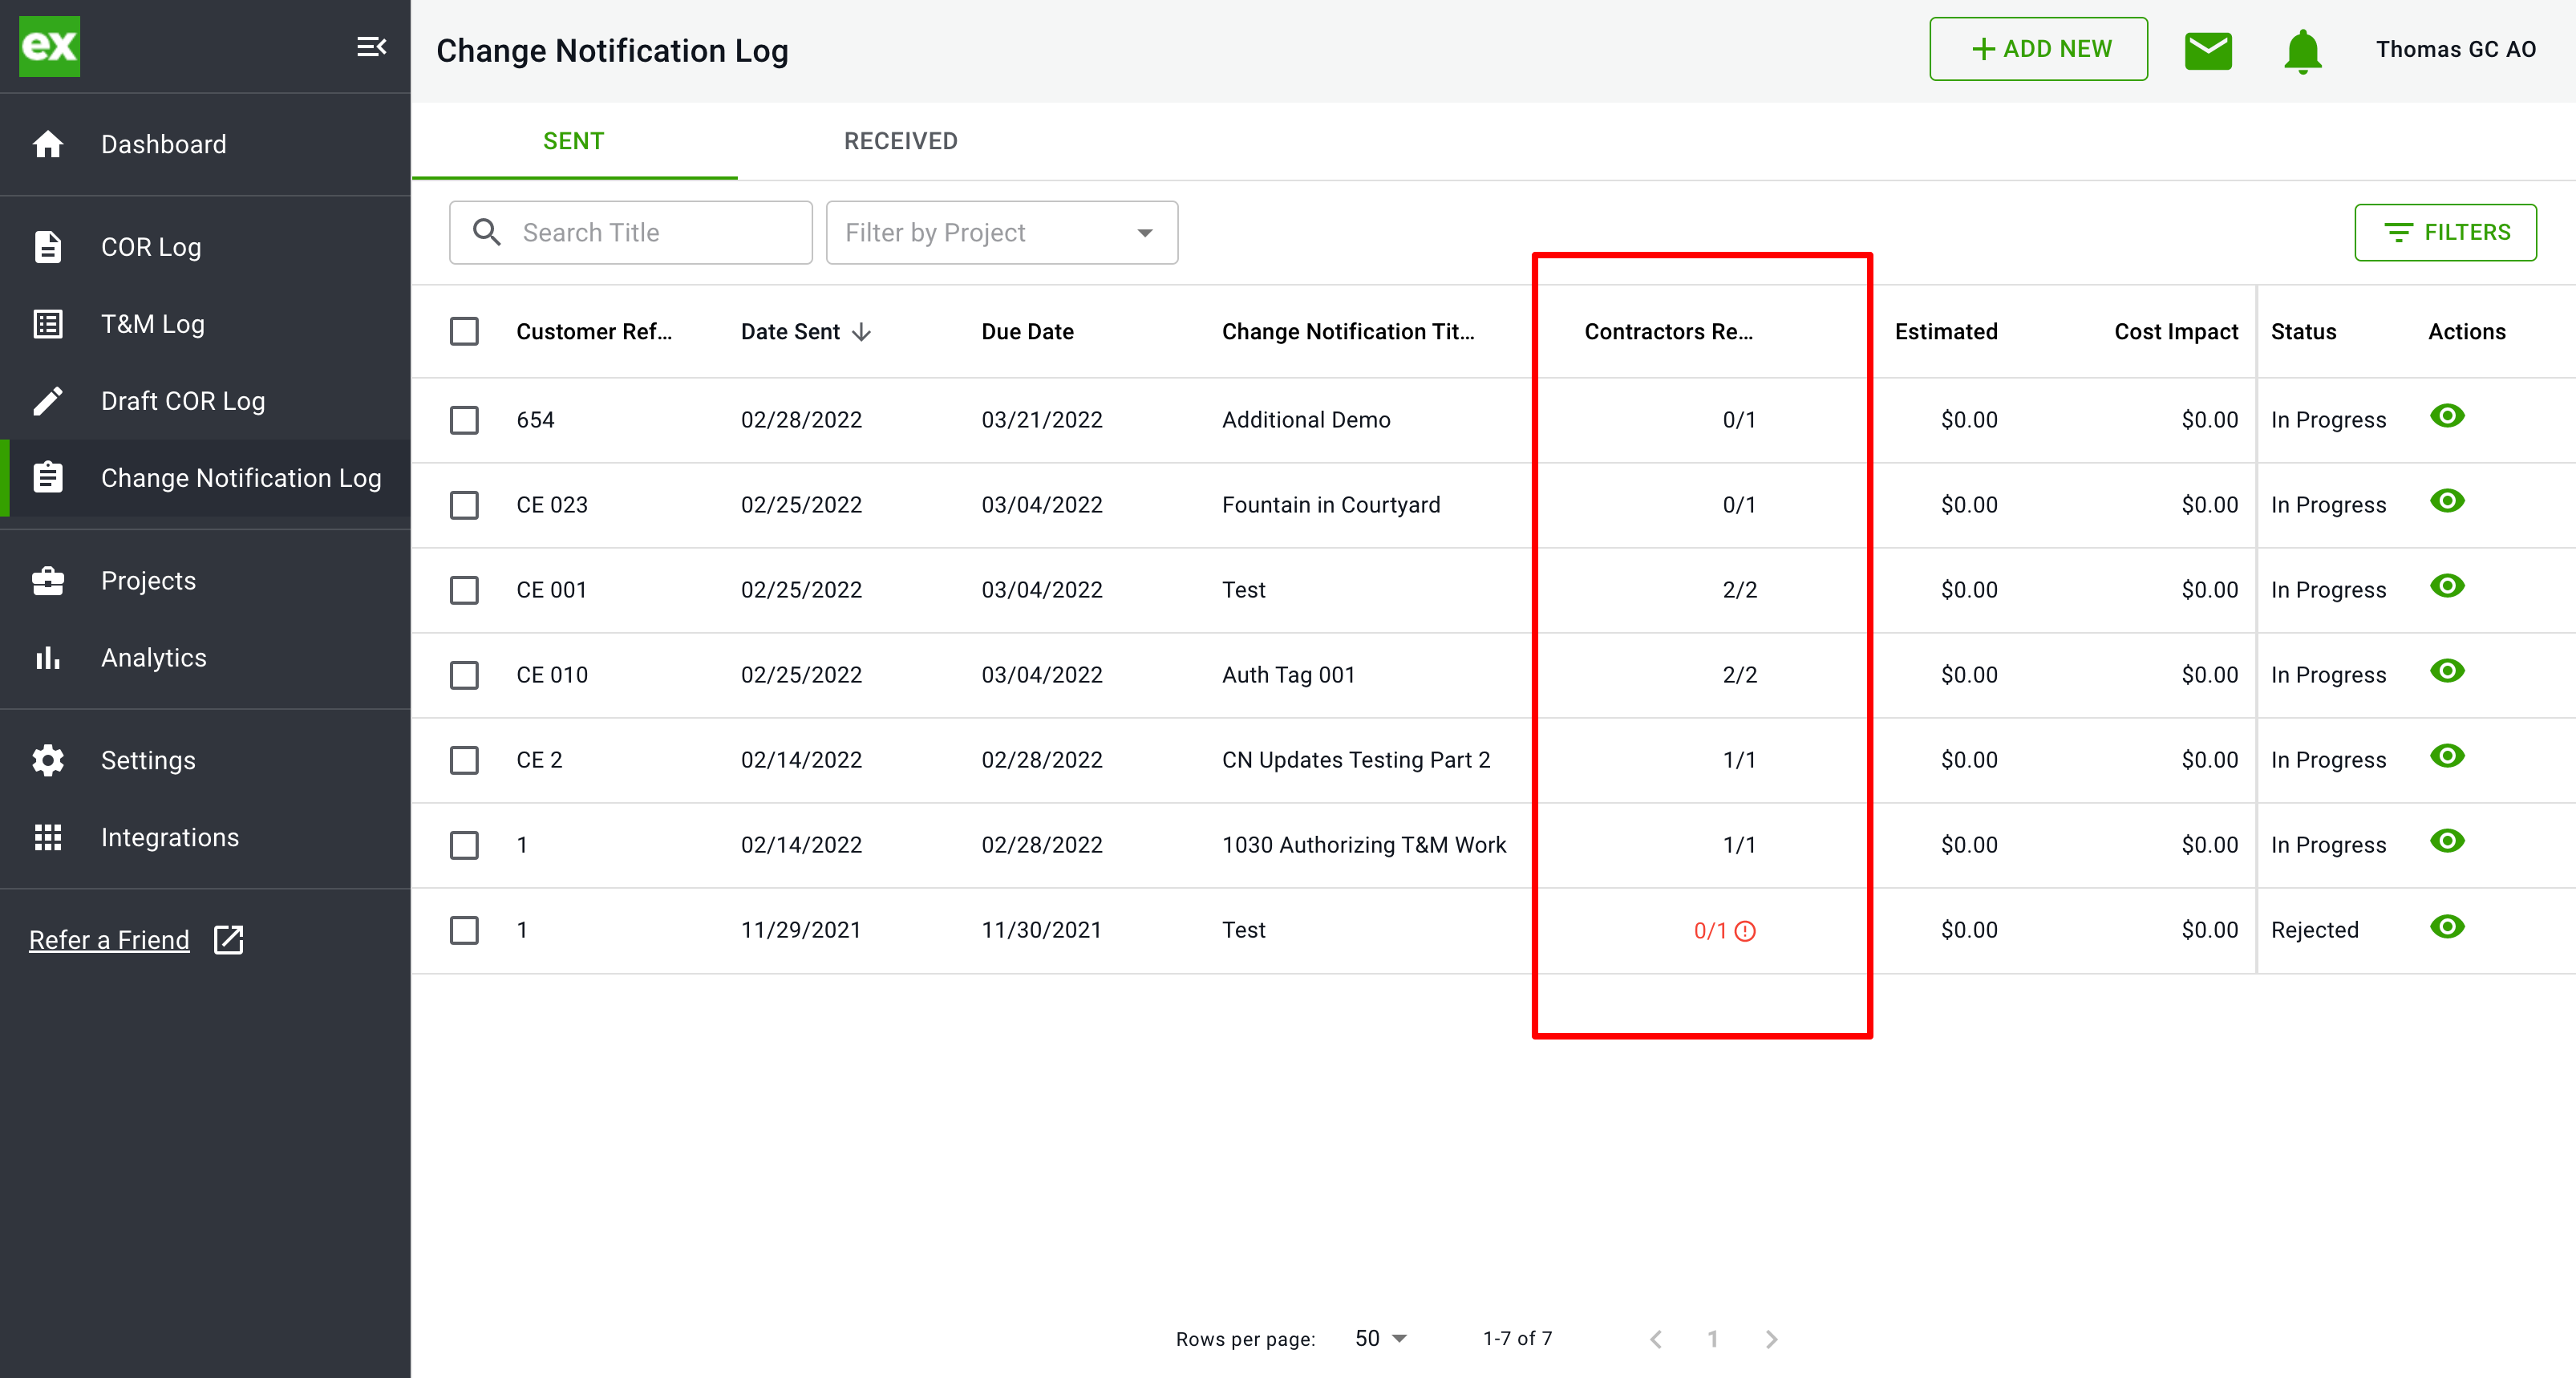
- You can also view the details by clicking the view icon in the Action column.
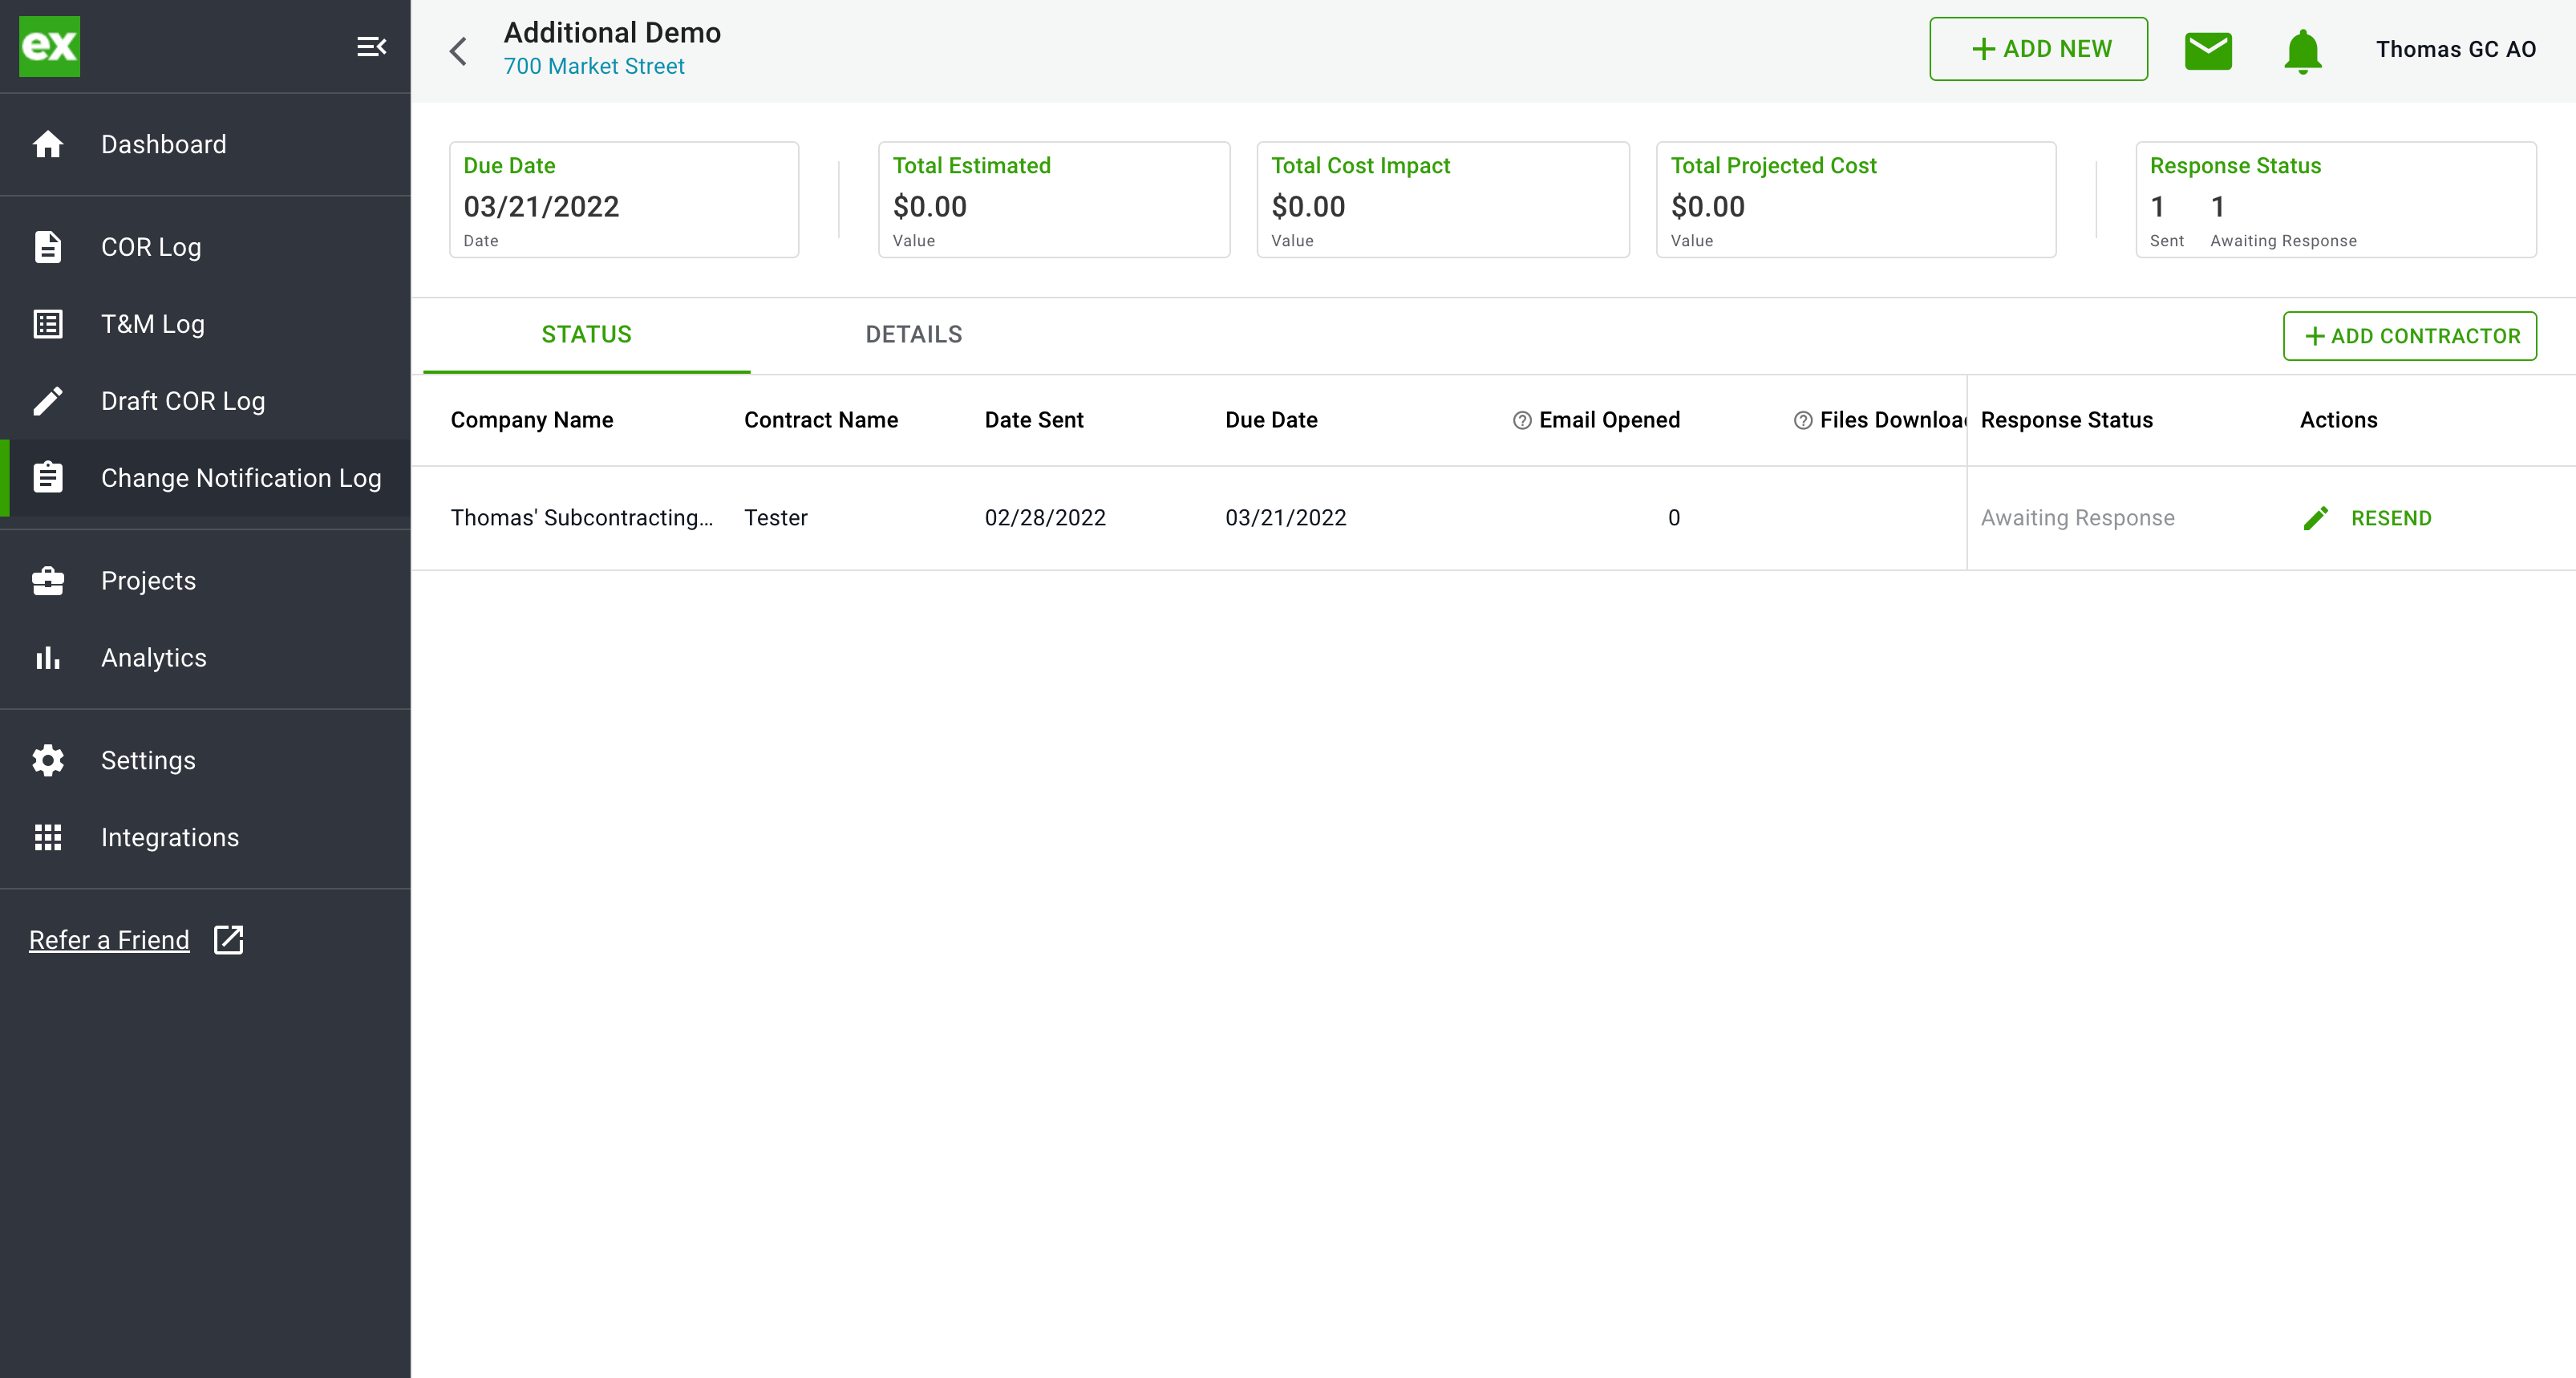
- In this view you can see which Subcontractors have been sent the change, which have responded, when they responded and whether or not there was a cost impact.
- If they respond with a COR you will also see the COR added to the COR log.
- If they respond with "No Cost Impact" you will see the response here, but no COR will be added to the log.
Activity Feed
You can use the Activity Feed section as an audit trail for your Sent Change Notifications:
Locate your CN and click the ![]() icon
icon
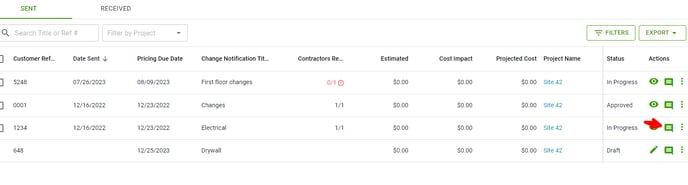
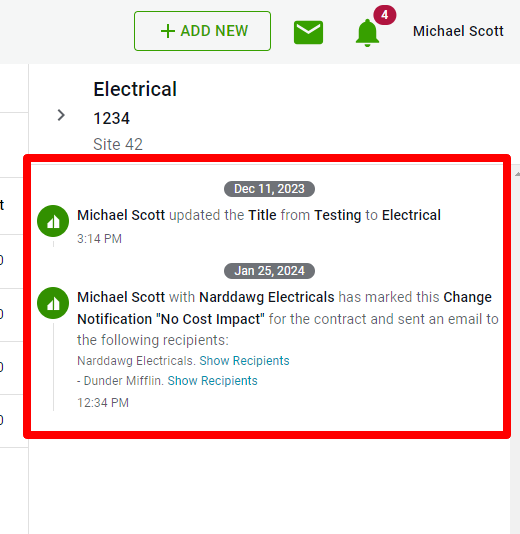
You now see the history of your CN, including email recipients
Filtering your Sent Log
You can filter your Sent CN log to view multiple statuses at once
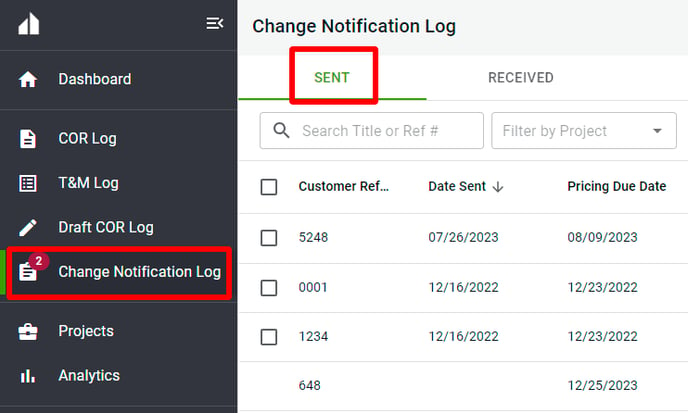
Make sure you are in the Sent log
Click Filters
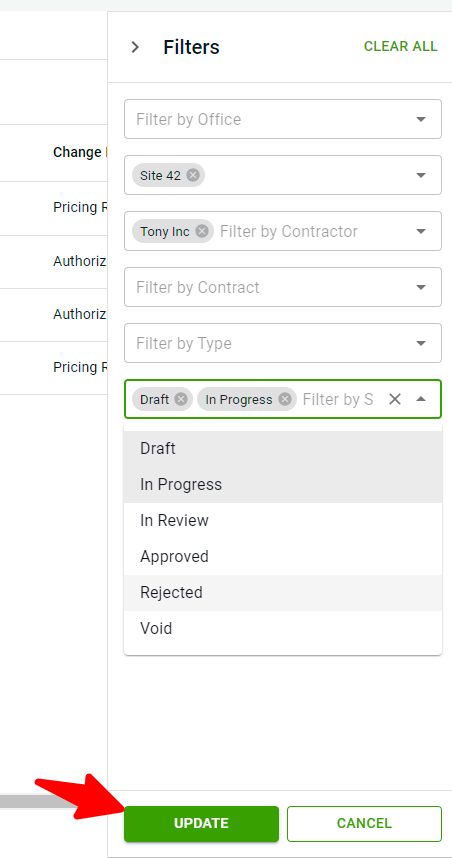
Select your desired filters, including multiple statuses if needed. Click Update.
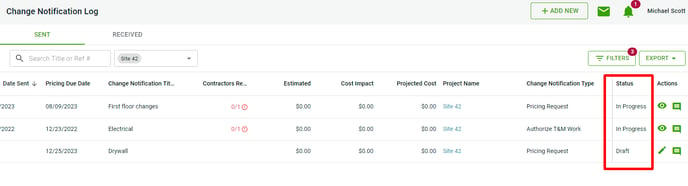
Your list now reflects the filtered results:
To learn how Subcontractors can respond to a Change Notification, check out this article: How to respond to a Change Notification.